 Table of Contents
 Beginner's Guide
Please remember to check the system requirements and notes on compatibility.
The Yana Framework has a tool, which can accomplish the installation for you.
To run the installation program do as follows:
When starting the installation program you should see the following page:
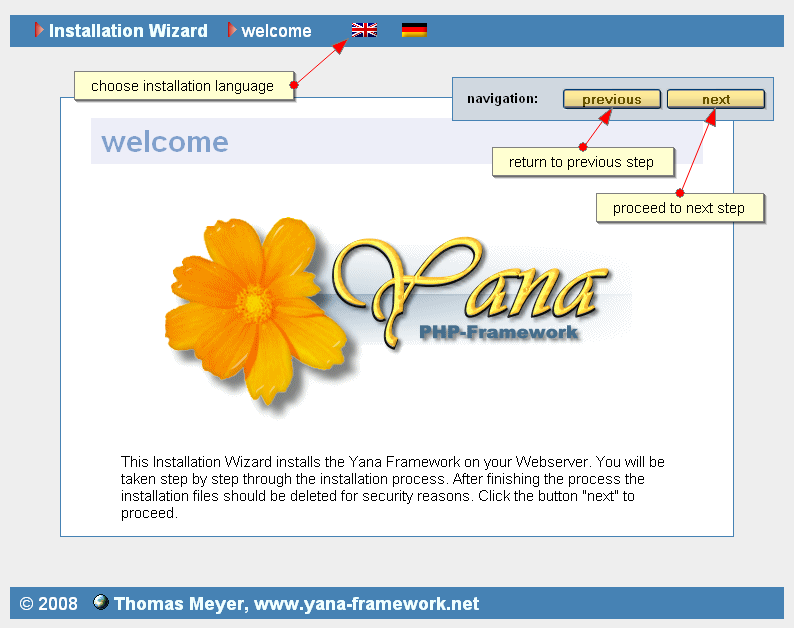
Click on "next" to continue

Read the license conditions carefully. In order to continue with the installation, you must accept the license conditions. If you do not want to use the program, you can abort the installation by clicking the button below.
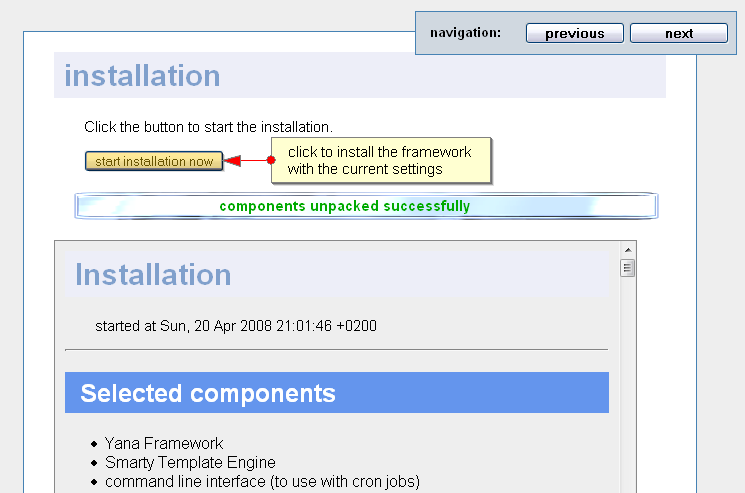
To accomplish the installation click the button "start installation now". When you are finished, click "next".

On this side you specify a password. With this password you can enter the administration menu of the application. To do so, use the name "administrator". First please enter the password in the left field. Second please retype the password in the right field, just to ensure you didn't mistype it. Following this please click on "OK".
A message will be shown that indicates whether or not the operation has been successful. When you are finished, click "next".
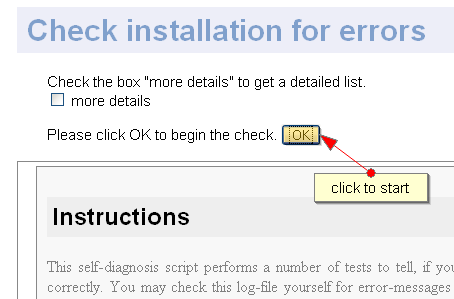
In order to make sure that the installation was successful, you may want to run the self diagnosis of the program. To do so click on "OK". Consider the viewed operating instructions.
If you wish additional details to the be printed, mark "more details" and click "OK" again. If you are content with the installation, continue by clicking on "next".
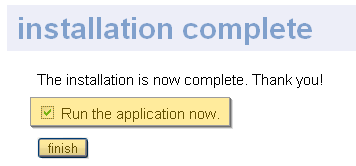
After completion of the installation the program automatically deletes all temporary files. If you check the option "run the application now", the YANA Framework is started automatically.
To end the installation program click on "finish".
Please remember to check the system requirements and notes on compatibility.
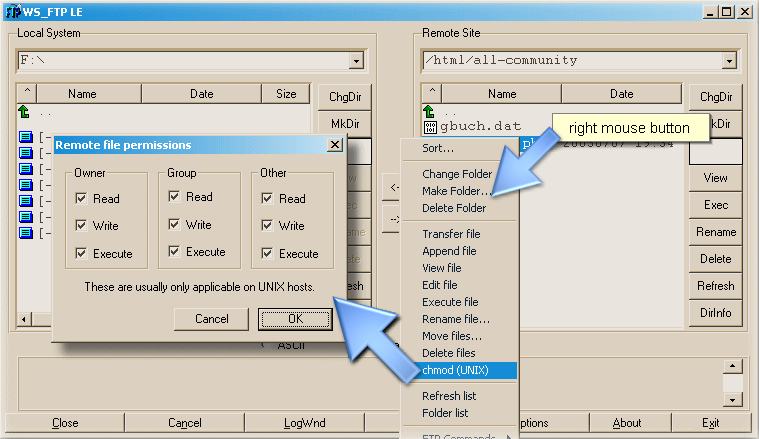
In WS-FTP (for example) you can change access rights by right-clicking on the directory names and selecting the option "file attributes" from the context menu. Then check all shown options and click "OK".
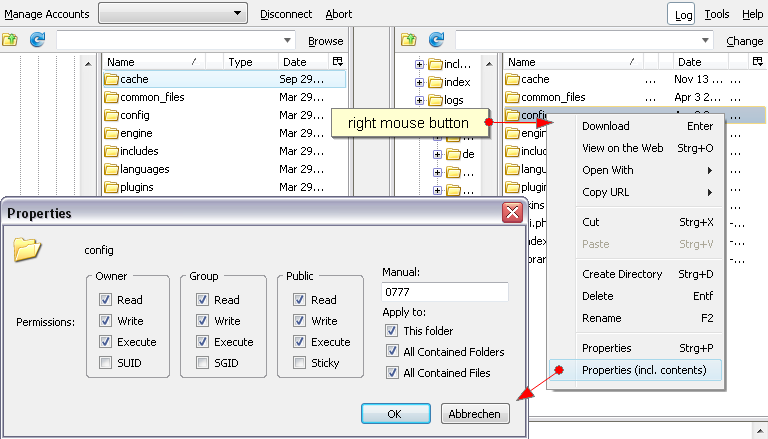
In FireFTP you can change access rights by right-clicking on the directory names and selecting the option "Properties (incl. contents)" from the context menu. Then check all shown options and click "OK".
If you are using another FTP program, set the rights via the command CHMOD 777 . If you experience problems finding the "right button", search the documentation of your program for the keyword "CHMOD".
Open in your browser the file "index.php?action=index", which is stored in the program's main directory.
You will be asked to log on to the system with your user name and associated password. (see figure)

Figure: login - Screenshots: Firefox browser
Enter the text "administrator" as "Login".
Confirm your entry by clicking on "OK". Then you may access the administration panel. Please note that JavaScript should be activated in your browser, so that the next page can be displayed correctly. If JavaScript is disabled you may experience that some features are not available. Personally I recommend you use Firefox 1.5 or later to view this page.
The following section describes how to change the password for your login.
![]() Tip: To avoid, that someone may guess your password, it should be a minimum of 8 characters in length and contain at least 2 special characters. For example: birthdays, names of persons or animals and terms used in standard dictionaries are easy to guess.
Tip: To avoid, that someone may guess your password, it should be a minimum of 8 characters in length and contain at least 2 special characters. For example: birthdays, names of persons or animals and terms used in standard dictionaries are easy to guess.
Write down your new password and keep it safe.
![]() Note: if the access rights were not set, as described in the "installation" chapter, you will get an error message at this point. In that case read again, what you need to do and execute the instructions step by step. If required contact your operator.
Note: if the access rights were not set, as described in the "installation" chapter, you will get an error message at this point. In that case read again, what you need to do and execute the instructions step by step. If required contact your operator.
![]() Note: Please understand that not all the options and settings are explained in detail. The following text will therefore only comment on the most important settings. Where needed follow the references in the program.
Note: Please understand that not all the options and settings are explained in detail. The following text will therefore only comment on the most important settings. Where needed follow the references in the program.
If you now want to set up your own settings for your application, please select "page layout Setup" from the options table. On this page you may define the layout of the program. E.g. font size, font color or date format. Colors must be specified as hexadecimal values. If you do not know how to do this, click on the square, colorful button next to the field. This will open a pop-up window, which let's you choose a color. Please also read the help text on this page for more information.
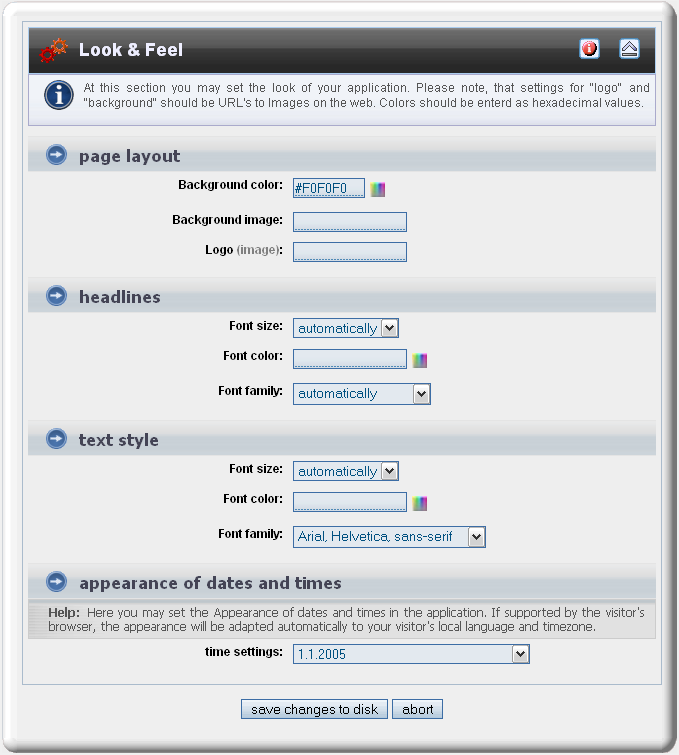
Figure: layout Options
 Thomas Meyer, www.yanaframework.net